
ROOT-SERVER TUTORIAL
How to set up a server for Web Hosting using cPanel on netcup


Introduction
In this tutorial, we will guide you through the process of setting up a netcup server for web hosting using cPanel. cPanel is a popular web hosting control panel that simplifies the management of your website, email accounts, databases, and other hosting-related tasks. This tutorial is compatible with both VPS and Root Server offerings by netcup.
The reading time of this tutorial is about 10 minutes; implementation will take approximately 45 minutes.
Prerequisites
- A server from netcup with AlmaLinux, CloudLinux, RockyLinux or Ubuntu 22.04 or later installed (see the below URL) - use minimal mode of installation, also called clean installation.
https://docs.cpanel.net/installation-guide/system-requirements/
- Older OS verions like CentOS 7 is still allowed with forced installation in the script or directly via installing of specific verion. See:
https://support.cpanel.net/hc/en-us/articles/360052251053-How-to-Install-a-Specific-Version-of-cPanel-WHM
--force — Force installation on an unrecommended configuration.
- Please note latest cPanel/WHM only supports the latest versions of the above OS. To know more visit:
https://support.cpanel.net/hc/en-us/articles/1500001216582-What-operating-systems-are-supported-by-cPanel
- A registered domain name (optional)
- Root access to your server
Step 1: Update your system
Before we begin, it's essential to ensure that your system is up-to-date. Log in to your server via SSH as the root user and run the following command:
For CentOS:
yum update -y
For Ubuntu:
apt update && apt upgrade -y
Step 2: Install cPanel
To install cPanel, you'll first need to install the cPanel & WHM installation script. Run the following commands to download and to execute the installation script:
cd ~ && curl -o latest -L https://securedownloads.cpanel.net/latest && sudo sh latest
The newer cPanel versions default to fast installation mode. It is recommended to disable the fast mode based on your requirements. You can use the options provided here:
https://docs.cpanel.net/installation-guide/customize-your-installation/
A few examples to use with the command are:
--skip-wptoolkit — Skip the automatic installation of WP Toolkit.
--skip-cloudlinux — Skip the automatic CloudLinux conversion process even if a license exists.
--force — Force installation on an unrecommended configuration.
Updated command to run the script:
cd ~ && curl -o latest -L https://securedownloads.cpanel.net/latest && sudo sh latest --skip-wptoolkit --skip-cloudlinux --force
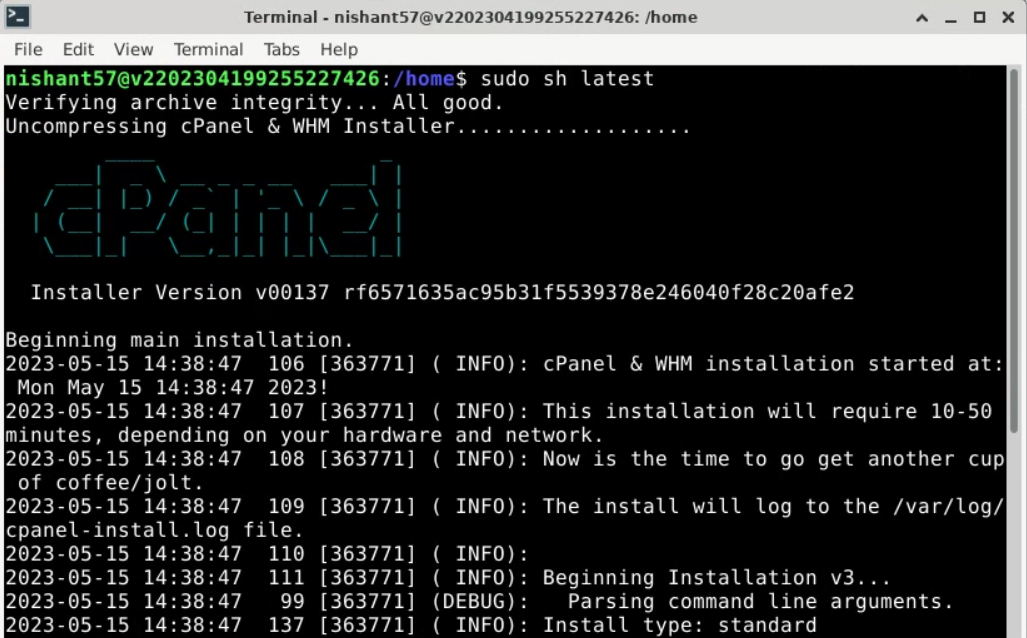
The installation process may take some time. Once it's complete, cPanel & WHM will be installed on your VPS.
Step 3: Configure cPanel
After the installation is complete, you can access the WHM (WebHost Manager) interface via your browser. Open your browser and navigate to:
https://your_server_ip:2087
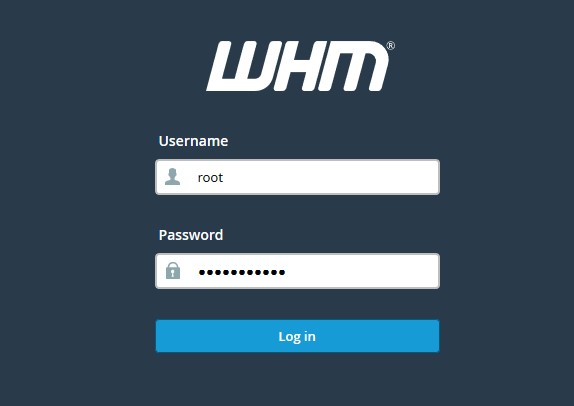
Replace "your_server_ip" with the IP address of your server. You'll encounter a security warning since the SSL certificate is self-signed. Proceed to the website and log in with your root username and password.
Upon logging in, you'll be prompted to complete the Initial Setup Wizard. Follow the on-screen instructions to configure your server and create a new cPanel account.
Step 4: Set up your domain
Once you've completed the Initial Setup Wizard, you'll need to set up your domain in WHM. To do this, navigate to "Account Functions" > "Create a New Account" and enter your domain information.
After creating a new account, you'll need to update your domain's nameservers to point to your VPS. This process varies depending on your domain registrar, so consult their documentation for instructions.
Step 5: Create email accounts and databases
To log in to cPanel, enter https://your-server-ip:2083 in your web browser and provide your login credentials (username and password).
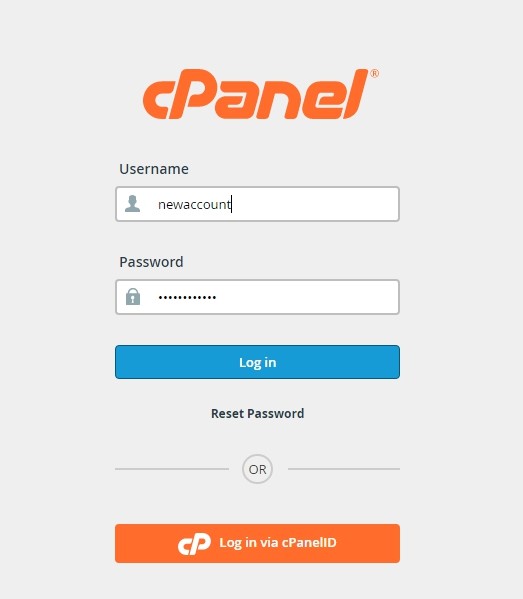
With your domain set up, you can now create email accounts and databases for your website. To create an email account, navigate to "Email" > "Email Accounts" in cPanel.
To create a database, navigate to "Databases" > "MySQL Databases" in cPanel.
Step 6: Upload your website files
To upload your website files, you can use the File Manager in cPanel or an FTP client such as FileZilla. If using File Manager, navigate to "Files" > "File Manager" and upload your files to the "public_html" directory.
If using an FTP client, you'll need to create an FTP account in cPanel first. Navigate to "Files" > "FTP Accounts" and create a new account, then use the provided credentials to connect and upload your files.
Conclusion
Congratulations! You've successfully set up a server for web hosting using cPanel on netcup. You can now manage your website, email, and databases through the userfriendly cPanel interface. Remember to keep your server and cPanel updated to ensure consistent security and performance.
Licence
Copyright (c) 2021 netcup
Permission is hereby granted, free of charge, to any person obtaining a copy of this software and associated documentation files (the "Software"), to deal in the Software without restriction, including without limitation the rights to use, copy, modify, merge, publish, distribute, sublicence, and/or sell copies of the Software, and to permit persons to whom the Software is furnished to do so, subject to the following conditions:
The above copyright notice and this permission notice shall be included in all copies or substantial portions of the Software.
THE SOFTWARE IS PROVIDED "AS IS", WITHOUT WARRANTY OF ANY KIND, EXPRESS OR IMPLIED, INCLUDING BUT NOT LIMITED TO THE WARRANTIES OF MERCHANTABILITY, FITNESS FOR A PARTICULAR PURPOSE AND NONINFRINGEMENT. IN NO EVENT SHALL THE AUTHORS OR COPYRIGHT HOLDERS BE LIABLE FOR ANY CLAIM, DAMAGES OR OTHER LIABILITY, WHETHER IN AN ACTION OF CONTRACT, TORT OR OTHERWISE, ARISING FROM, OUT OF OR IN CONNECTION WITH THE SOFTWARE OR THE USE OR OTHER DEALINGS IN THE SOFTWARE.
Contributor's Certificate of Origin
By making a contribution to this project, I certify that:
-
The contribution was created in whole or in part by me and I have the right to submit it under the licence indicated in the file; or
-
The contribution is based upon previous work that, to the best of my knowledge, is covered under an appropriate licence and I have the right under that licence to submit that work with modifications, whether created in whole or in part by me, under the same licence (unless I am permitted to submit under a different licence), as indicated in the file; or
-
The contribution was provided directly to me by some other person who certified (a), (b) or (c) and I have not modified it.
-
I understand and agree that this project and the contribution are public and that a record of the contribution (including all personal information I submit with it, including my sign-off) is maintained indefinitely and may be redistributed consistent with this project or the licence(s) involved.